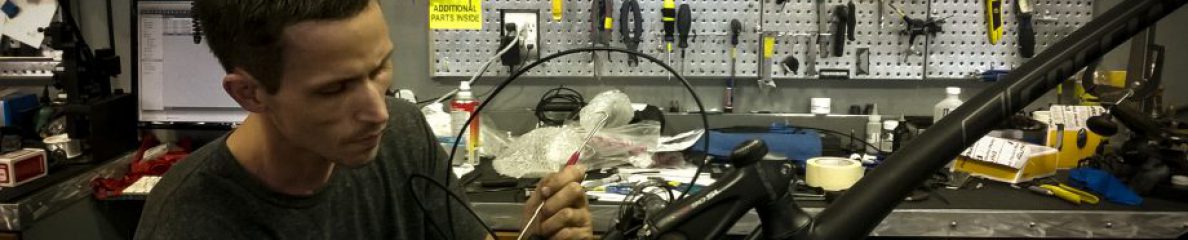
Hello everyone! I was able to cover and help with our first SRAM eTap build in the shop for our SRAM rep and I will tell you it is a force to be reckoned with. They have really thought out the design completely and it works very well. Plus, having only the brake cables running from the bars to the frame is looking so clean and fresh. Swappable identical batteries are a big plus if you run out of juice (approximate life is 1000km or so).
The build itself is ridiculously easy and the Parlee frameset was made for eTap (no frame fittings except the rear brake). With only an internal brake cable to route, it saves a lot of time. Pop on the front and rear derailleurs. Pop on the shifters. Sync up the system in about a minute or less and you have a working electronic drivetrain. Pretty awesome. In addition, it is great to see a derailleur off the bike on the counter fifteen feet away and actuate it while a customer is checking out. They’ll think it’s possessed!
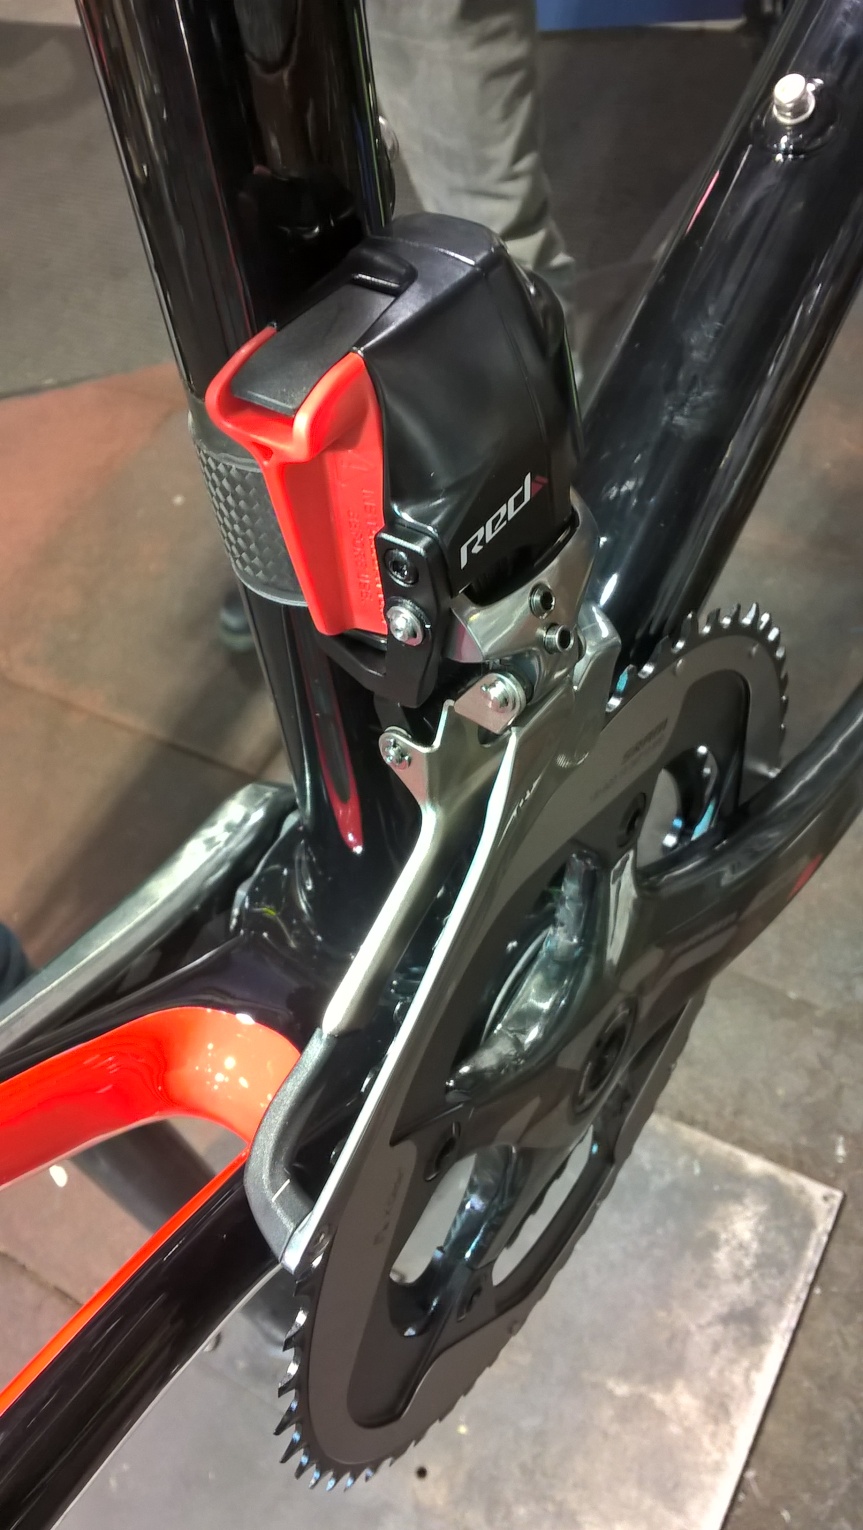
Here are some photos of the build (what little there is) and then a couple videos of the derailleurs in action. To shift the bike the left paddle controls shifting the rear to a higher gear and the right paddle controls shifting to a lower gear in the rear. Pressing both paddles shifts the front up or down depending if you are on the large chainring or small. Charging the bike takes only about 40 minutes.
Actually, the videos are more interesting than the photos. Here they are, photos below that.
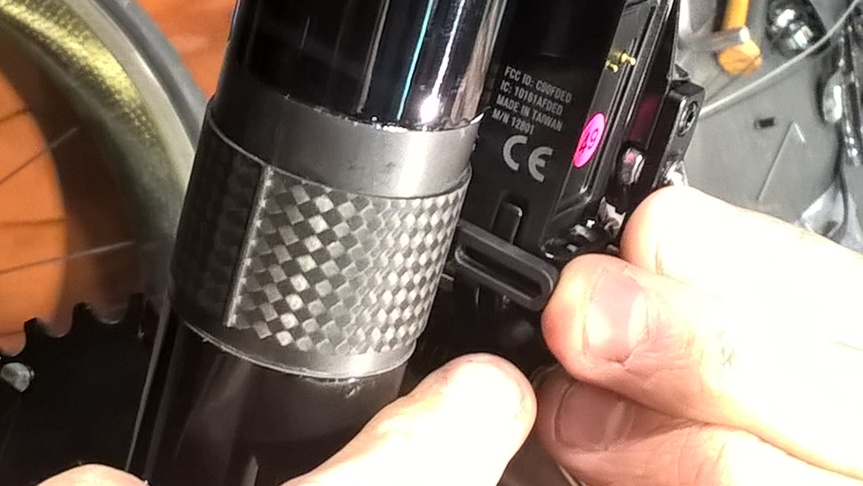
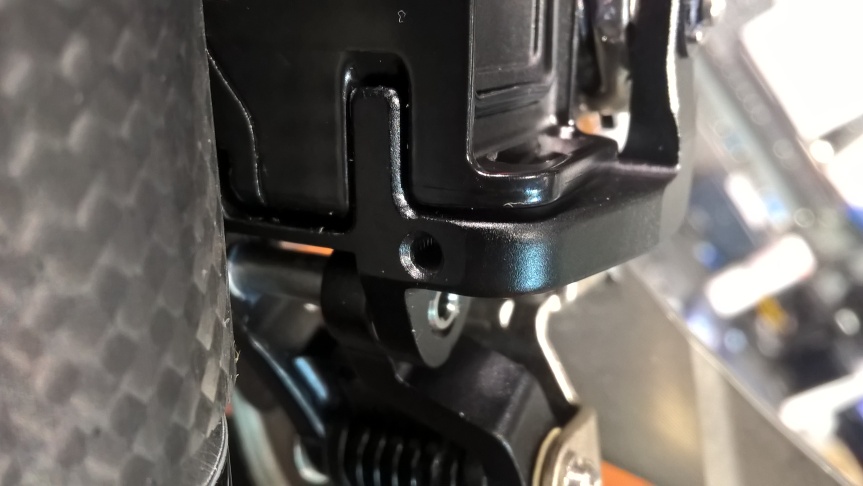
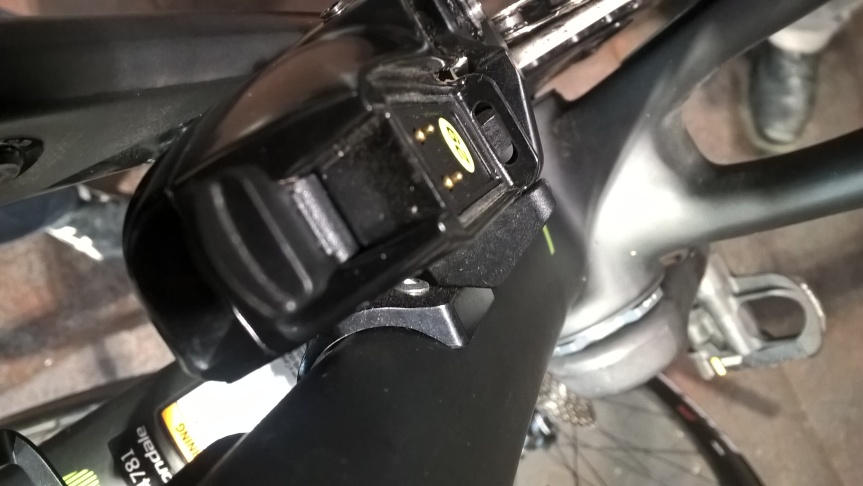
The above three videos are of the derailleurs actuating wirelessly from the the shifters. Pretty awesome and syncs easily. Press the small button on the rear derailleur to start sync. The LED below the button will start flashing. Proceed to press the same button on the front derailleur and it will also flash. Last, sync each shifter by pressing the same little black button on the inside of the shifter paddle.


I hope you’ve gotten a good first insight into the new SRAM eTap system. More will follow as we work with it more and any hacks will of course be shared. Thanks for reading and checking out the videos and photos!
